Accuracy Analysis of Turning Shaft Workpieces
Time of issue:
2021-09-15
In the turning process of shaft workpieces, problems such as accuracy and surface roughness can not meet the requirements. According to the specific process of turning, the analysis is carried out.
In the turning process of shaft workpieces, problems such as accuracy and surface roughness can not meet the requirements. According to the specific process of turning, the analysis is carried out.
1. Reasons and solutions for the dimensional accuracy not meeting the requirements
1. Due to the operator's carelessness, the measurement error, or the wrong dial and improper use
Therefore, when measuring, it is very important to use the dial correctly. As far as the handle dial of the middle carriage is concerned, the dials of various types of lathes are different. Each small grid dial can be calculated by the following formula :
The moving distance of the turning tool when the scale turns one grid = the distance of the carriage screw/the total number of grids on the dial (mm)
After knowing the scale value of each grid, pay attention when using it because there is a gap between the lead screw and the nut. Sometimes the dial rotates, but the turning tool does not necessarily move, and the turning tool does not move until the gap is turned. Therefore, when using, if the scale has turned over the number of grids, it is not allowed to reverse only a few grids, but to re-align the scale after inversion.
2. There is an error in the measuring tool itself or it is not placed correctly when used
Before using the measuring tool, it must be carefully checked and adjusted, and it should be placed in the correct position when using it.
3. Due to the change of temperature, the size of the workpiece changes
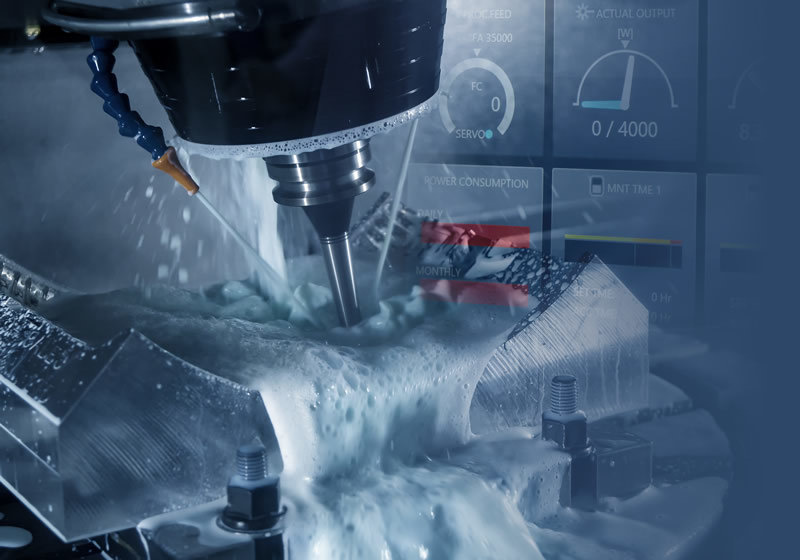
When cutting, the chips are deformed, and the molecules of the chips move with each other, and they rub against each other when they move, which generates a lot of heat. In addition, due to the friction between the chip and the front of the turning tool, the friction between the back of the turning tool and the surface of the workpiece also generates heat, which directly affects the tool and the workpiece. Of course, the high heat is the chip (about 75%), followed by the turning tool (about 20%) and the workpiece (about 4%, and 1% in air). When the workpiece is heated, the diameter increases (about 0.01-0.05 mm, the change of cast iron is larger than that of steel), and the diameter shrinks after cooling, resulting in waste. Therefore, it cannot be measured when the workpiece temperature is very high. If you want to measure the side, pour enough cutting fluid during turning, so as not to increase the temperature of the workpiece; secondly, use the method of separating rough and fine turning.
4. The blank is not enough
The blank itself is bent and not straightened, and the center hole is misaligned.

Mobile
Longboddy Precision Machinery Nantong Co, Ltd
Tel:86-13485119812 Mr Yang
E-mail:13485119812@126.com
PC:226300
Add:Group 18, Liuqiao Community, Industrial Concentration Zone, Liuqiao Town, Tongzhou District, Nantong City, Jiangsu Province
copyright © 2022 Longboddy Precision Machinery Nantong Co, Ltd


